


It’s uncomfortable when you have to do your paperwork in bulky outdoor clothes while standing or being eyed by a clerk, a bank employee or an insurance agent. Even when you fill out your documents in the comfort of your own home, there’s always a risk that you might make a mistake and have to start from scratch.
An excellent way to prevent mistakes when handling paperwork is autofilling. In this article we are going to tell you how we helped one of our clients to automate filling and signing insurance company blanks using the DocuSign service, which served to attract customers and increase customer loyalty.
What is Docusign?
Docusign is a service that allows you to upload, send for signing, look through and sign documents; as well as track document status using either the service’s own interface or a custom client (that is supposed to use API and Embedded View for viewing and signing documents).
Security
Document and electronic signature security is certified in accordance with the ISO 27001 standard that establishes the basic terms and conditions for data security systems.
All data transferred between the client and the DocuSign services is encrypted and sent using the HTTPS protocol. Documents and templates stored in DocuSign are encrypted using the
HIPAA Compliance
Docusign permits working with documents and
Getting started
Our goal is to fill out and send blanks with the help of DocuSign.
Let’s say we have to send a single PDF document to several people. We could send the file manually by
- Template. This entity includes a PDF document, the document’s tabs (fields) and the relationships between the tabs and the recipients’ roles. This means, for instance, that one signature tab can be reserved for the employee to be hired and the other for the head of the HR department (or the CEO);
- Envelope. This entity is a container for storing and sending one or more
multi-page documents.
The process of working with documents includes:
- Creating a Template.
- Sending the document to the selected recipients.
- Saving the finalized document.
Let’s examine each stage in detail.
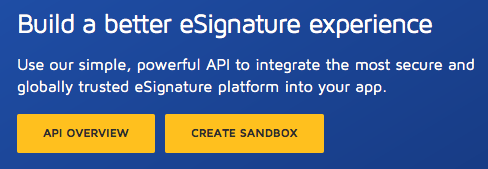
Registering a sandbox
To gain access to all of the DocuSign features you have to create a demo account (a sandbox). To do this, click the Create Sandbox button in the Developers section of the DocuSign main page.
After you validate your account, you can continue.
Creating a Template
To create a Template:
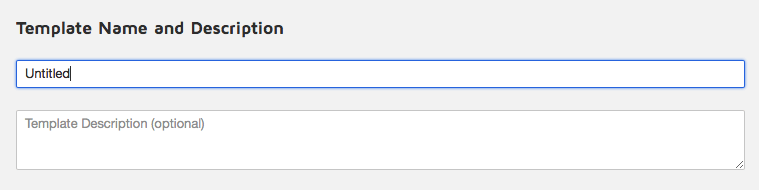
Navigate into the Templates tab and click New -> Create Template.
- Enter the name and the description of the template.
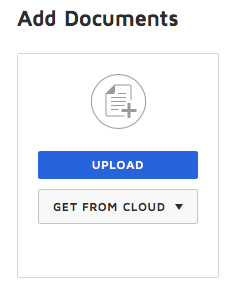
3. Upload the documents.
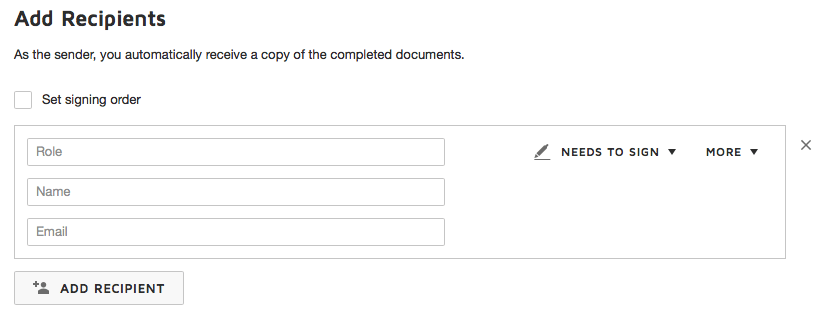
4. Add recipients. If you plan on using the template repeatedly and sending it to several recipients, you can enter only the name of the role (e.g., «employee» for the company’s workers).
5. Click Next.
Afterwards, we get to the screen where we add fields to the document. In the future, only the document’s recipient will be able to fill them in. If there are several recipients, fields can be designated for each of them.
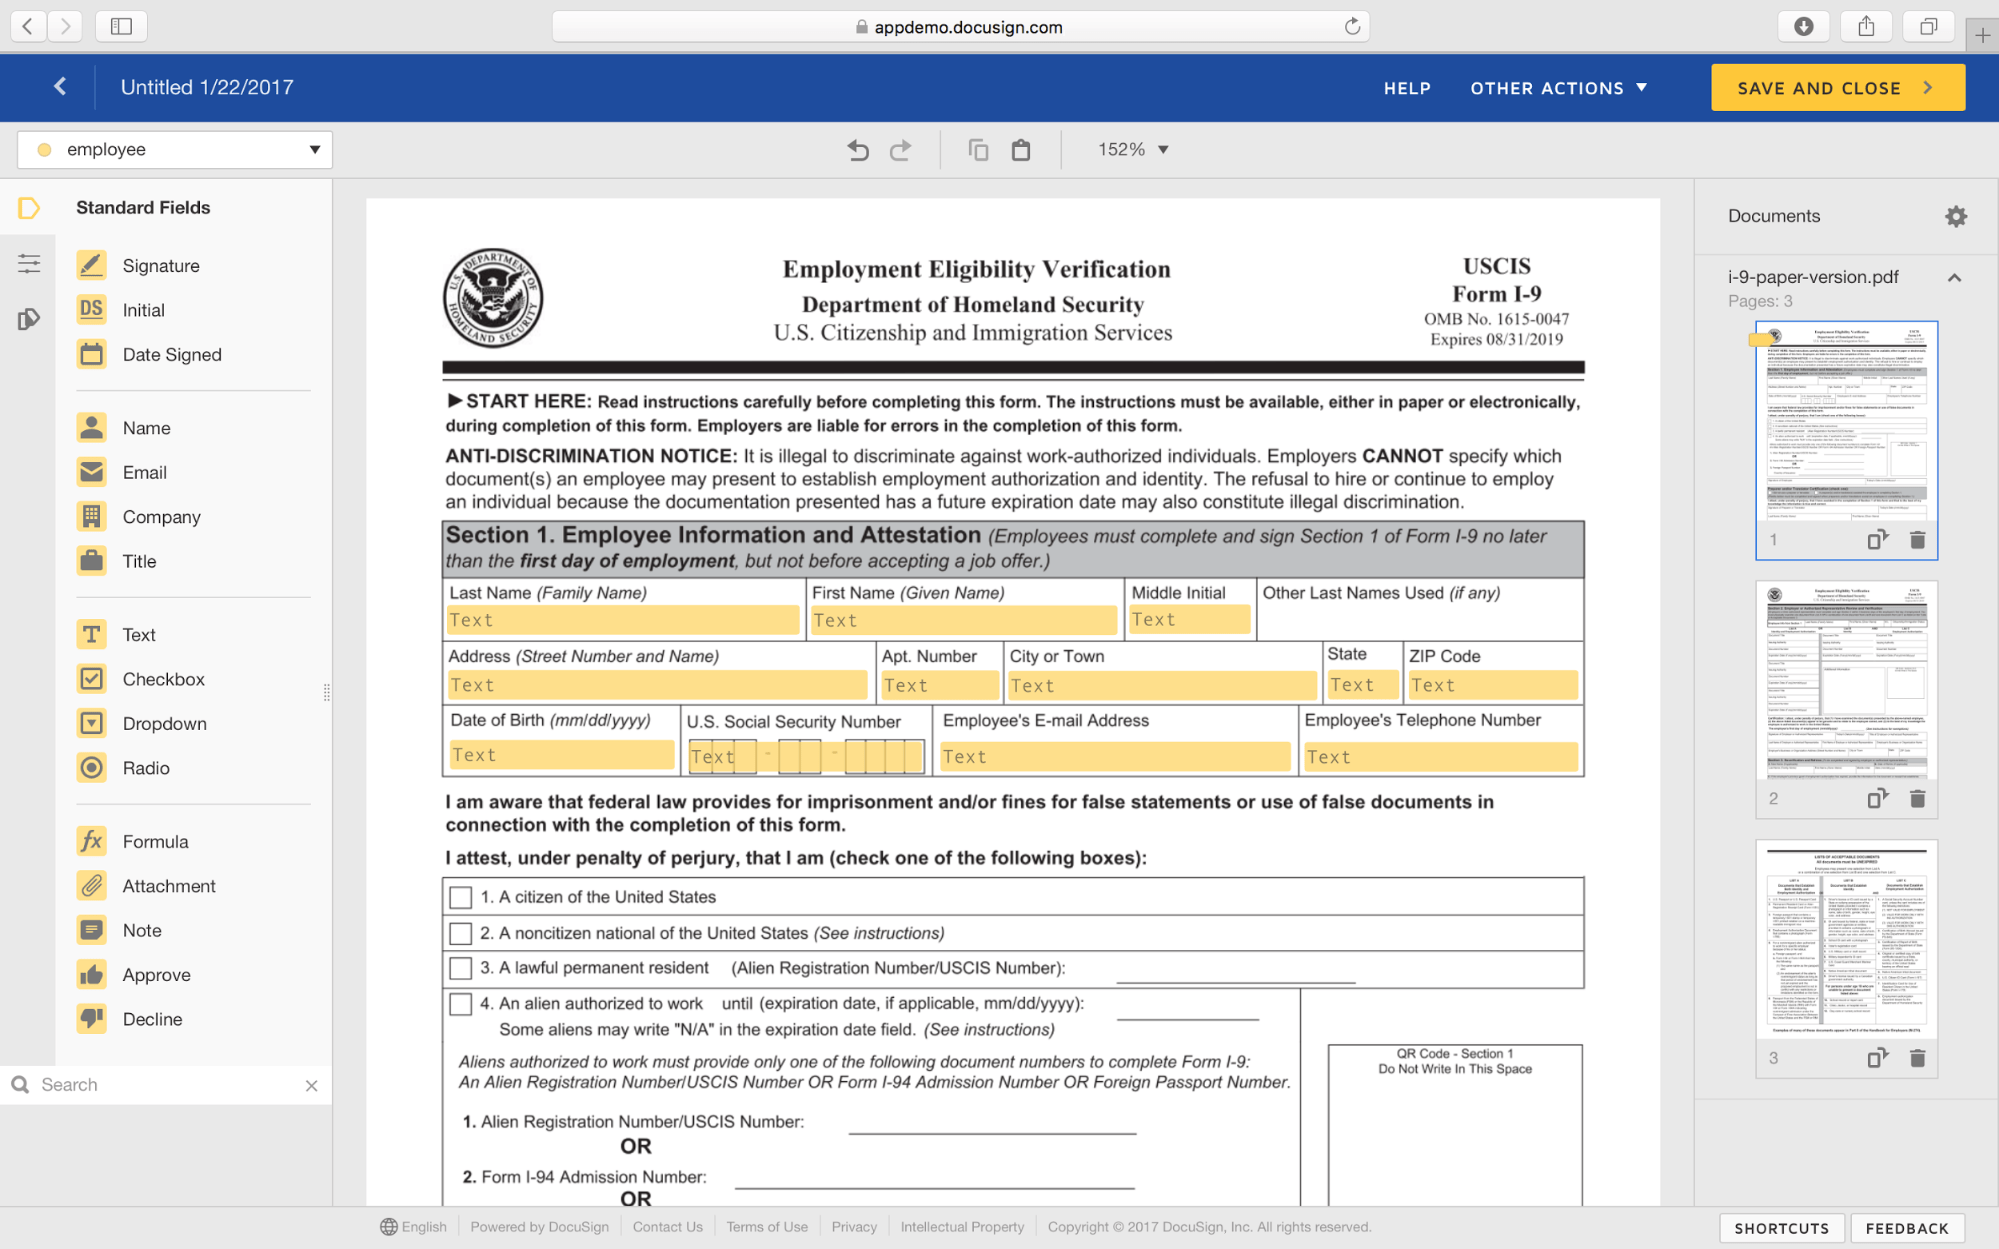
Each field has several parameters. The Data Label parameter deserves special attention as it can be used as an identifier when working with the template or document’s data in the API. It’s also worth noting that Data Label is not a unique value, so there can be several duplicate fields with it. This comes in handy when you need to automatically fill in several fields at once with the name of the same person.
Sending a document
To send a document for the recipients to later fill out and sign, you have to click the 'Use' button located across the selected template. In the window that opens, enter the names and
 After you have sent the document, the selected recipients will get notifications asking them to examine, fill out and sign the document. The
Everything we have just done manually (i.e., sent the document to the required recipients and they have signed it) can be automated with the help of the API, so be sure to check out the next part.
Getting started with the API
Docusign has two API’s: SOAP and REST. We’ll use the latter in our example, as it’s more demonstrative and its method implementation is more comprehensive. The REST API allows signing documents, sending them for signing and automating document flow.
To start working with the REST API, we have to get authorized first. To do this, the API can send authorization data in a special header that must contain username, password and an Integrator Key.
First things first: let’s get an Integrator Key and then go back to making API requests.
1. Getting an Integrator Key.
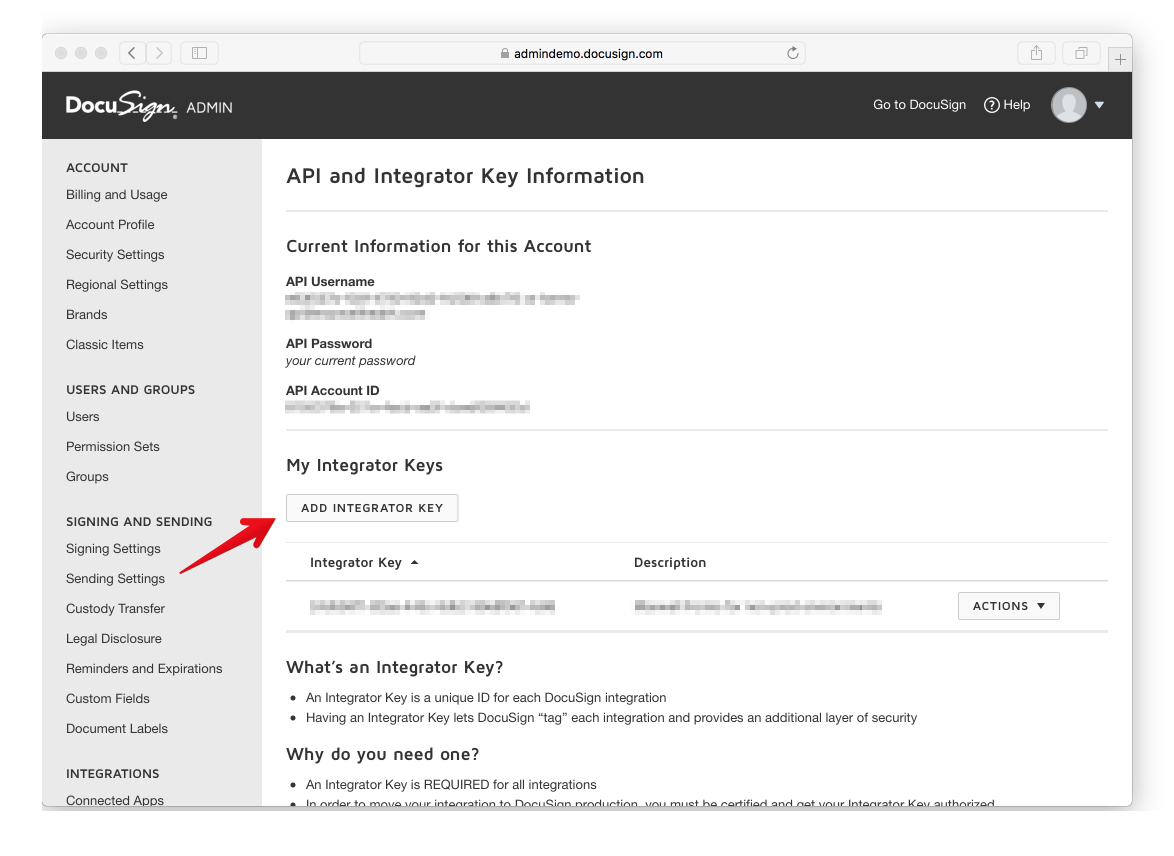
Integrator Key (aka Client ID) is a unique identifier for getting access to the DocuSign API. A single account can have several keys registered to differentiate between environments and to have a specific key for each of them. Initially, new accounts don’t have a key, so we have to create one. To do this, log into your account and do the following:
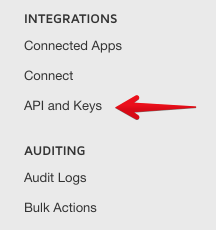
- go into DocuSign Admin
- choose API and Keys in the menu on the left
- click ADD INTEGRATOR KEY
- enter your app description
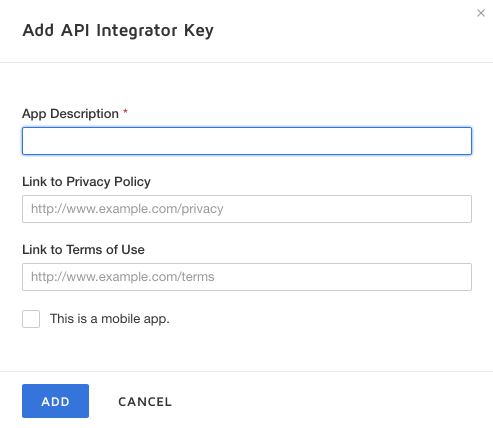
- click Add
That’s it, the key can now be found in the section called My Integrator Keys.
2. Making request for DocuSign
Each request to DocuSign has to be supplemented with a
Our first request to DocuSign will be a request to get account info. It’ll also contain the so called baseUrl, a URL that will be used for creating subsequent requests to DocuSign.
$ curl -i -H 'X-DocuSign-Authentication:
              { "Username": "developer@example.com",
                "Password": "example",
                "IntegratorKey": "00000000-aaaa-bbbb-cccc-0123456789b" }'\
          https://demo.docusign.net/restapi/v2/login_information
{
  "loginAccounts": [
    {
      "name": "Developer",
      "accountId": "9999999",
      "baseUrl": "https://demo.docusign.net/restapi/v2/accounts/9999999",
      "isDefault": "true",
      "userName": "Dev Eloper",
      "userId": "00000000-aaaa-bbbb-cccc-0123456789a",
      "email": "developer@example.com",
      "siteDescription": ""
    }
  ]
}
With the help of baseUrl and the
3. Getting a Template.
Imagine you already have a template base and the easiest way to make it is through the DocuSign interface. We’ll use a template we made earlier. For our example, let’s use a personal data processing consent agreement in which we need to fill in the fields with the data on the document’s recipient.
The first thing we need to do is get the required template. We can do it if we know its identifier, which can be retrieved by going to the template’s page in your account:
$ curl -i -H 'X-DocuSign-Authentication:
              { "Username": "developer@example.com",
                "Password": "example",
                "IntegratorKey":"00000000-aaaa-bbbb-cccc-0123456789b" }'\
          https://demo.docusign.net/restapi/v2/accounts/9999999/templates/00000000-aaaa-bbbb-cccc-0123456789c
The data on the template’s tabs (or fields) is contained in the «tabs» property that pertains to the «recipients» property. This is the main thing we need to look for in the response:
{
  "recipients": {
    "signers": [
      {
        "tabs": {
          "signHereTabs": [ ... ],
          "dateSignedTabs": [ ... ],
          "textTabs": [ ... ]
        },
        "name": "",
        "email": "",
        "roleName": "employee"
      },
      {
        "name": "",
        "email": "",
        "roleName": "hr"
      }
    ],
    "agents": [],
    "editors": [],
    "intermediaries": [],
    "carbonCopies": [],
    "certifiedDeliveries": [],
    "inPersonSigners": [],
    "recipientCount": "2"
  }
}
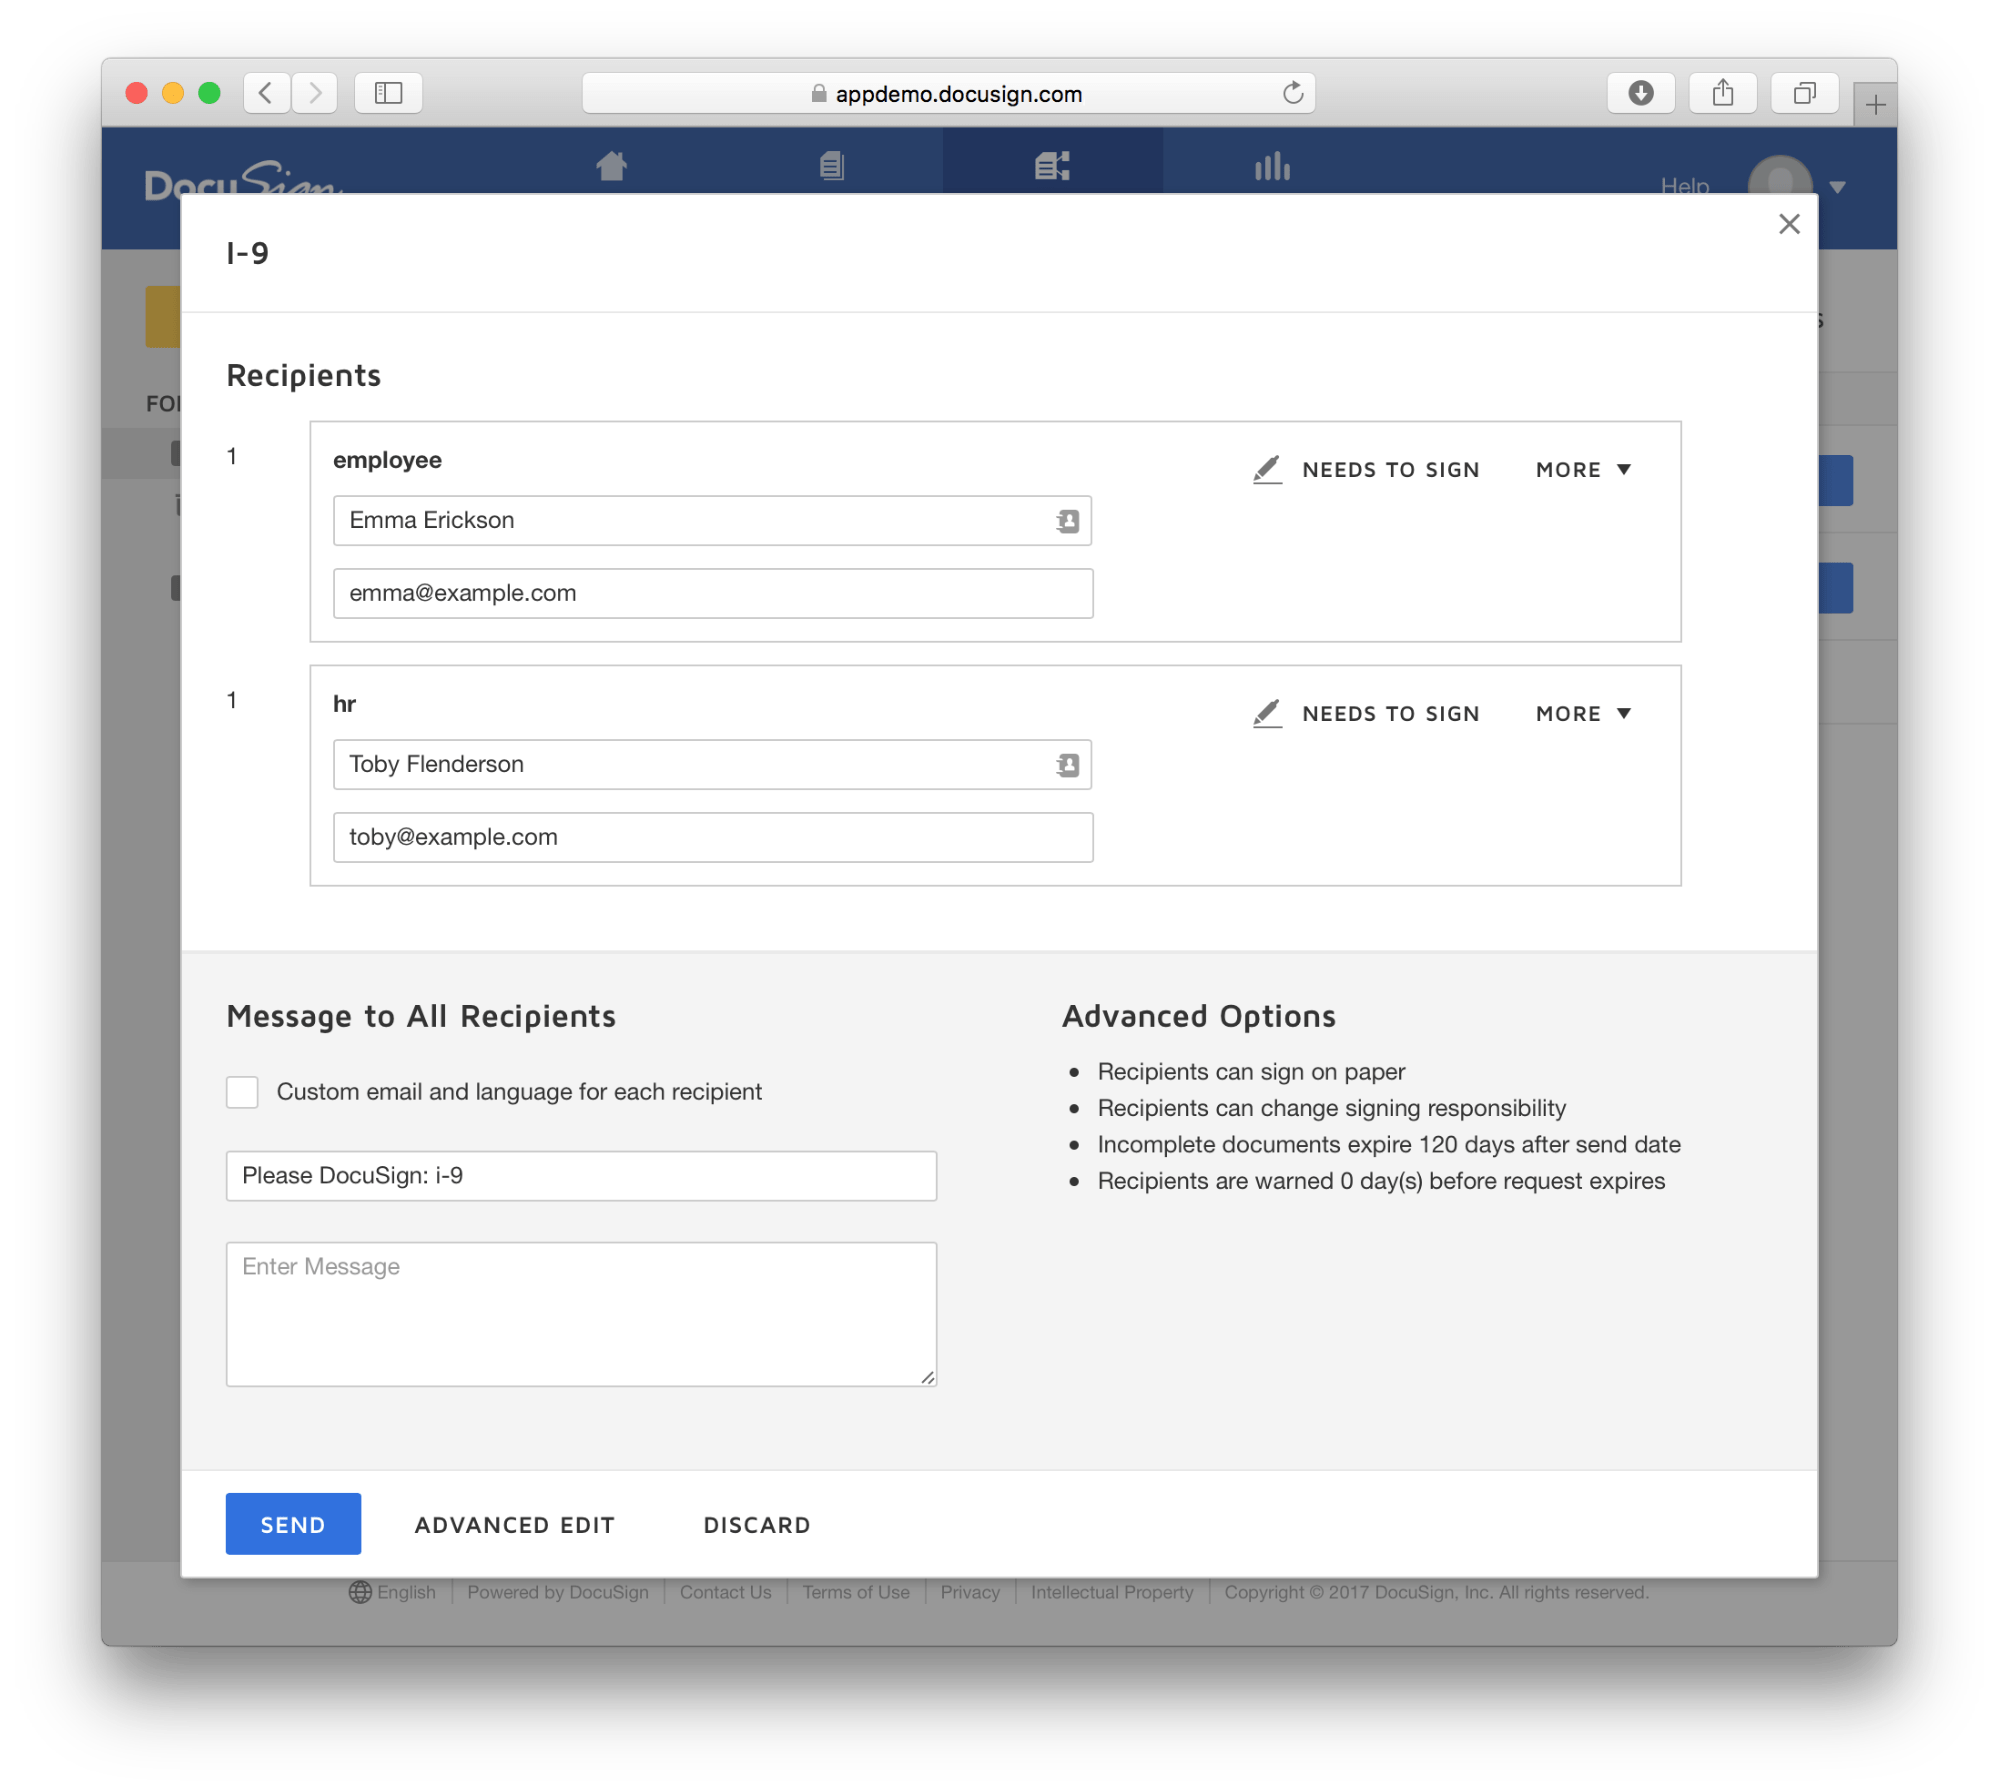
DocuSign has seven recipient types: Agents, Carbon Copies, Certified Deliveries, Editors, In Person Signers, Intermediaries, and Signers. In our template, we’ll only be using Signers*, which is why we’ll examine only this type.
*«Signers» doesn’t necessarily mean that all of the recipients of this document have to sign it. In fact, if you don’t assign any tabs that the user has to fill (or sign), it’s enough for them to just open the document and look through it.
As was mentioned before, each recipient has a «tabs» property that contains all the tabs in the document. Tabs are divided into several types as well. We will not go into these types to save time and just pick textTabs (fields for entering text) and signHereTabs (fields for signatures). These are the two most common types of fields in documents.
Let’s move on to autofilling.
4. Filling in tabs and sending the document to the recipients.
For DocuSign to automatically fill in the required values, you have to send the list of all the recipients when creating the document. You can do so by adding the «tabs» property for the recipients for whom you want to fill in the tabs.
The tab has to contain the following properties: name, tabLabel, xPosition, yPosition and value. We have already mentioned tabLabel above, as this tab will be useful for identification. For instance, we can match the tab with the tabLabel equal to «nameFull» with the recipient’s full name and put it into the «value» property.
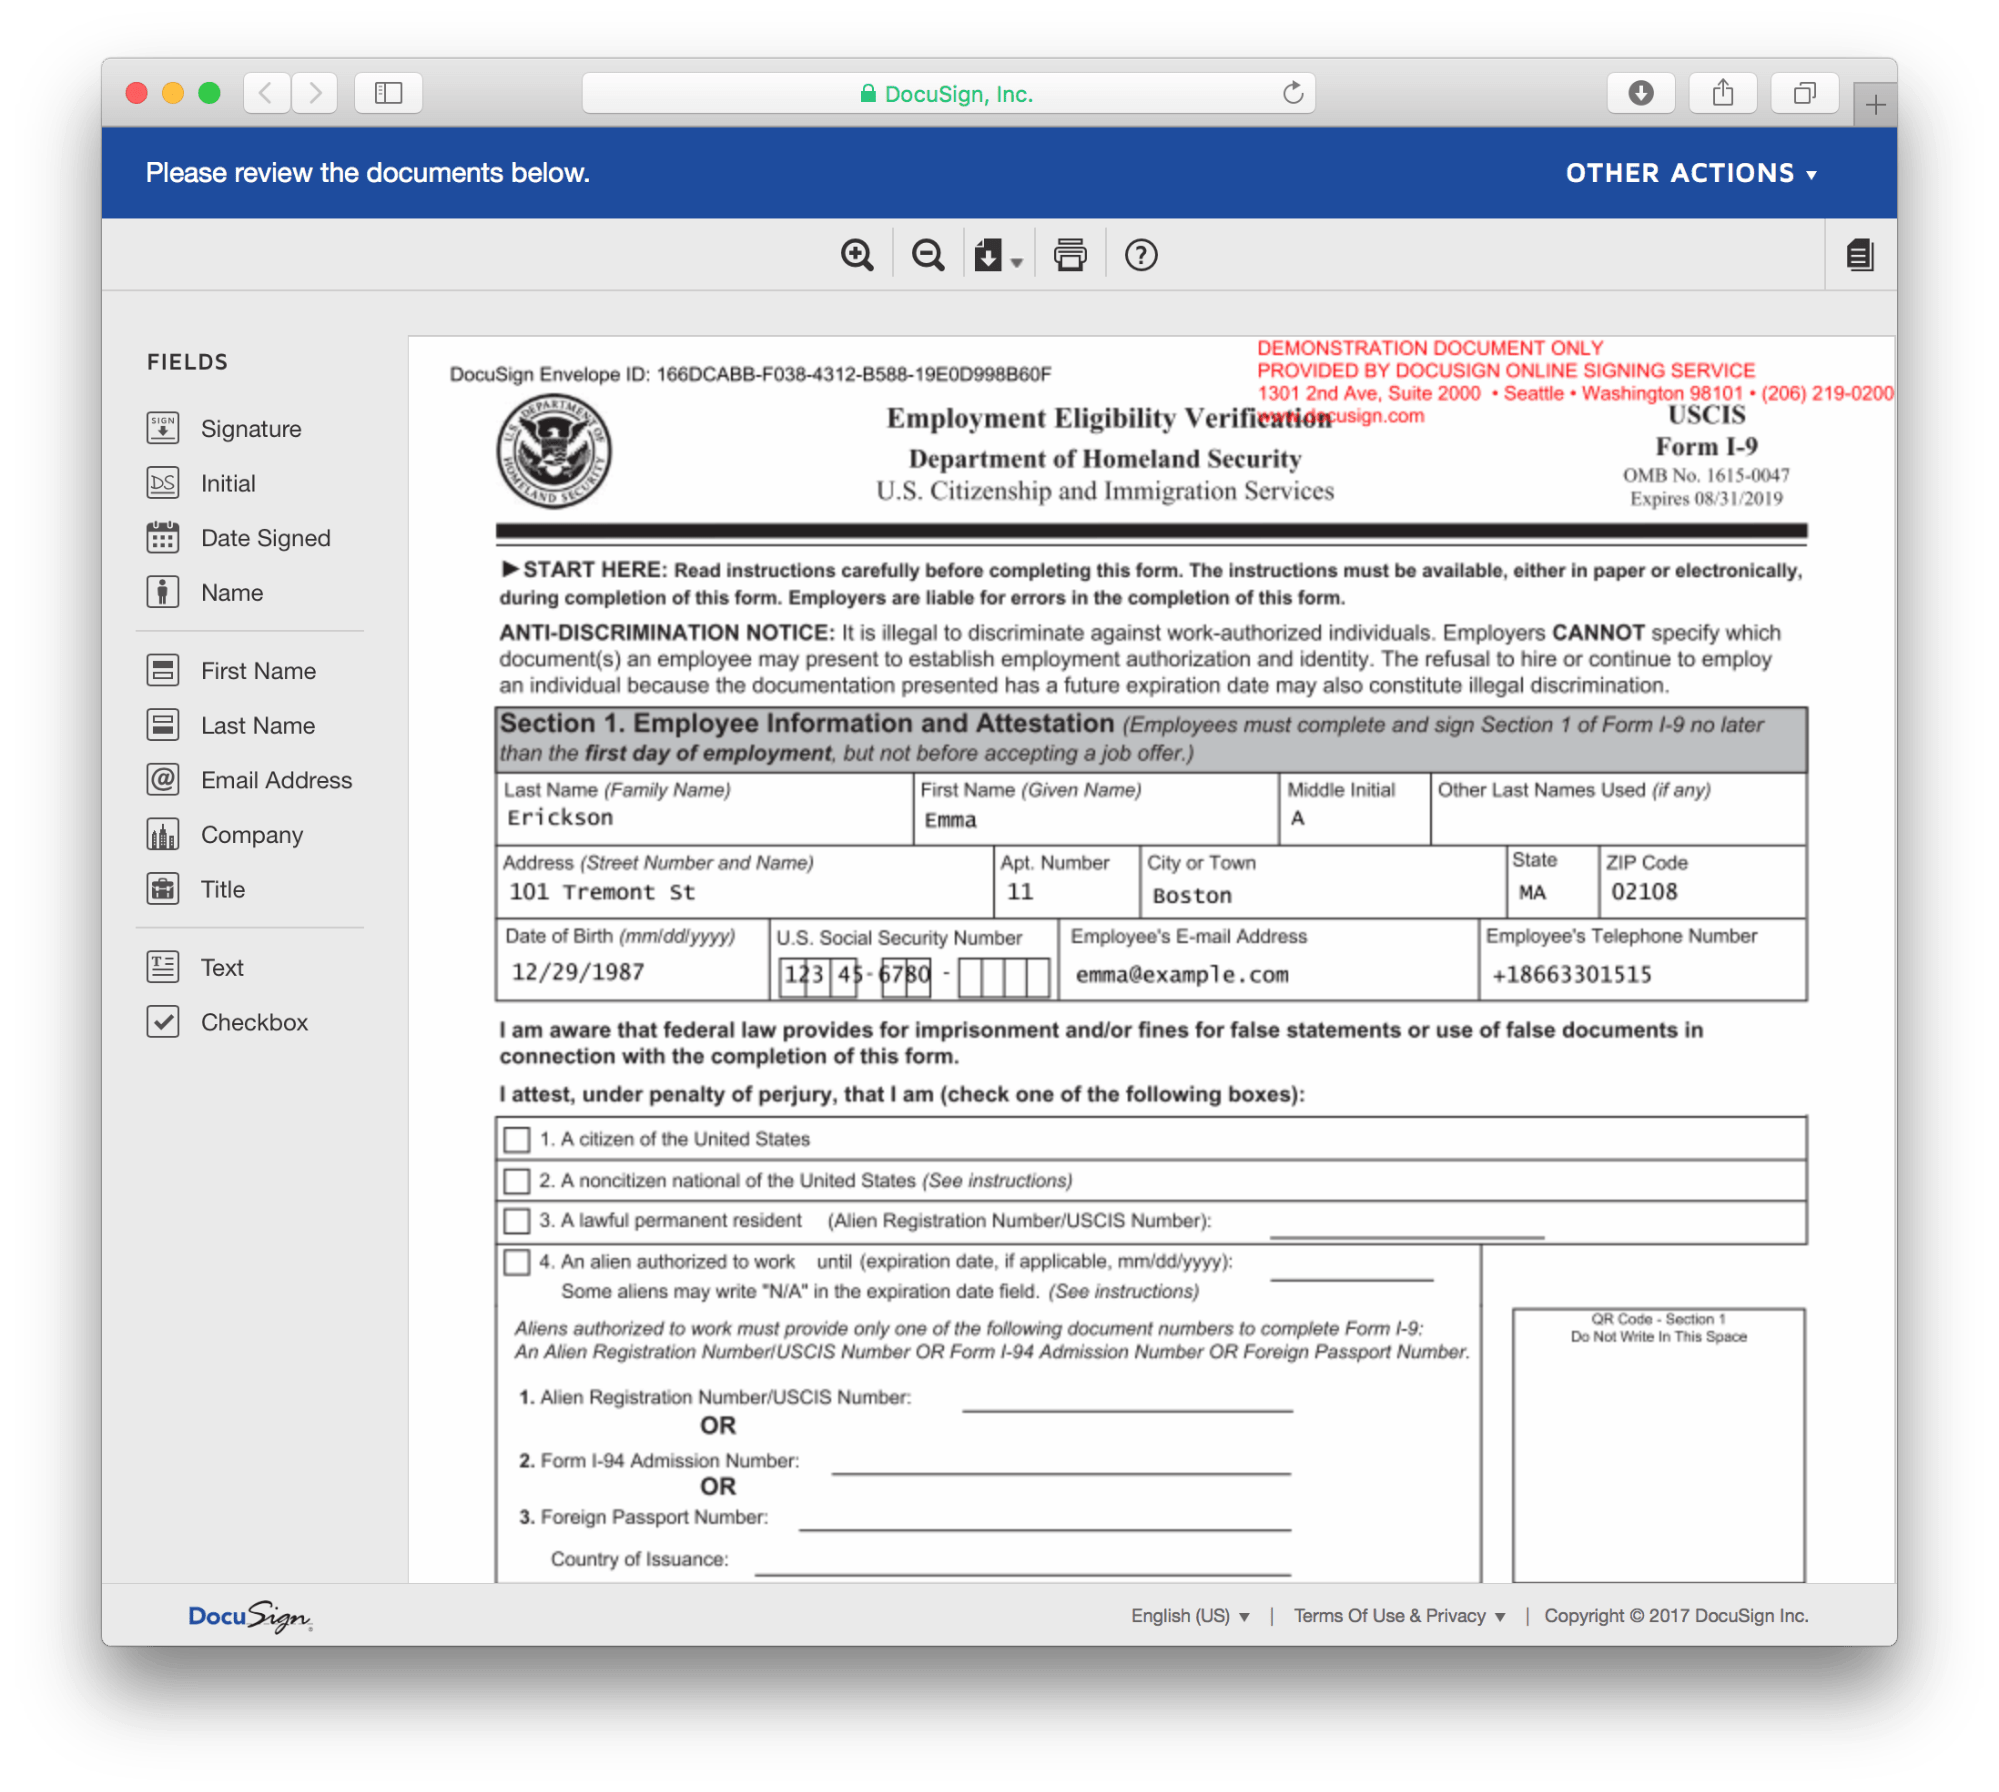
Our document has the following fillable tabs: nameFirst, nameLast, middleInitial, ssn, dob, email, phone, addressStreetSuite, aptNumber, city, state, и zipCode.
Let’s set values for these tabs and send the document:
nameFirst: «Emma»
nameLast: «Erickson»
middleInitial: «A»
ssn: «123 45 6780»
dob: «12/29/1987»
email: «emma@example.com»
phone: «+18663301515»
addressStreetSuite: «101 Tremont St»
aptNumber: «11»
city: «Boston»
state: «MA»
zipCode: «02108»
To create a document, we’ll make the following request:
$ curl -X POST -H 'X-DocuSign-Authentication:
              { "Username": "developer@example.com",
                "Password": "example",
                "IntegratorKey":"00000000-aaaa-bbbb-cccc-0123456789b" }'\
           -d '{
                "status": "sent",
                "emailSubject": "Example",
                "templateId": "00000000-aaaa-bbbb-cccc-0123456789c",
                "templateRoles": {
                  "signers": [{
                    "name": "Emma Erickson",
                    "email": "emma@example.com",
                    "recipientId": "1",
                    "routingOrder": "1",
                    "tabs": {
                      "textTabs": [
                        {
                          "xPosition": "150",
                          "yPosition": "200",
                          "name": "First Name",
                          "tabLabel": "nameFirst",
                          "value": "Emma"
                        },
                        {
                          "xPosition": "150",
                          "yPosition": "200",
                          "name": "Last Name",
                          "tabLabel": "nameLast",
                          "value": "Erickson"
                        },
                        ...
                      ],
                    }
                  }]
                }
              }'\
              'https://demo.docusign.net/restapi/v2/accounts/9999999/envelopes/'
Our response will contain the identifier of the created document (envelopeId), the date of the last status change (statusDateTime) and the status itself (status):
{
  "envelopeId": "00000000-aaaa-bbbb-cccc-0123456789d",
  "uri": "/envelopes/00000000-aaaa-bbbb-cccc-0123456789d",
  "statusDateTime": "2016-09-27T19:52:09.7670000Z",
  "status": "created"
}
The document is filled out and sent, and the recipient doesn’t have to worry about filling in their data. Here’s how the resulting document form looks:
Now, when we’ve created the basic functionality of the app and are ready to use it in the release version, we need to go through certification.
Certification
Certification is required to use DocuSign integration in a working environment. For certification to go smoothly, you need to make sure that your client meets the following requirements:
- It doesn’t use undocumented API features.
- It doesn’t use features you don’t have access to due to limited subscription.
- It doesn’t exceed allocated quota.
How to go through certification
1. Fill out and send the certification request form to the Developer Center. In the form, specify:
Integrator Key;
- Account ID;
- The interval of time during which you’ll have to make no less than 20 requests to DocuSign. The requests will demonstrate how you are planning to use the API.
2. Use your app in the designated time interval and make no less than 20 transactions with DocuSign.
3. If everything is OK, you’ll be provided with a Post Certification Guide to prepare for release. Usually this process doesn’t take more than a week, but I don’t recommend doing it just before release, as documents won’t have legal effect without certification and you won’t have access to DocuSign support.
Conclusion
In this example we’ve scratched the surface of DocuSign integration and created a client for autofilling templates and sending documents for signing. I hope this knowledge will help you decide whether you’re going to use this service (perhaps with a more complex integration plan in mind) or not.